Python+Anaconda+pytorch+cuda+jupyter notebook安装与环境配置+ NumPy报错
本文记录了深度学习环境的详细配置过程。使用Python 3.9.10+Anaconda 2021.10+PyTorch 1.10+CUDA 11.3组合,强调版本兼容性需匹配电脑配置(通过nvidia-smi查询CUDA支持)。安装步骤包括Anaconda基础安装、环境变量配置、虚拟环境创建(torch1.10)、PyTorch套件安装及常见问题处理(如镜像源冲突、NumPy版本报错需降级到1.2
记录深度学习环境配置。
我自己用的是python3.9.10+anaconda2021.10+pytorch1.10+cuda 11.3
不同的python版本,需要对应不同的anaconda、torch、cuda
cuda的选择与自己电脑配置有关系。
在终端中输入nvidia-smi
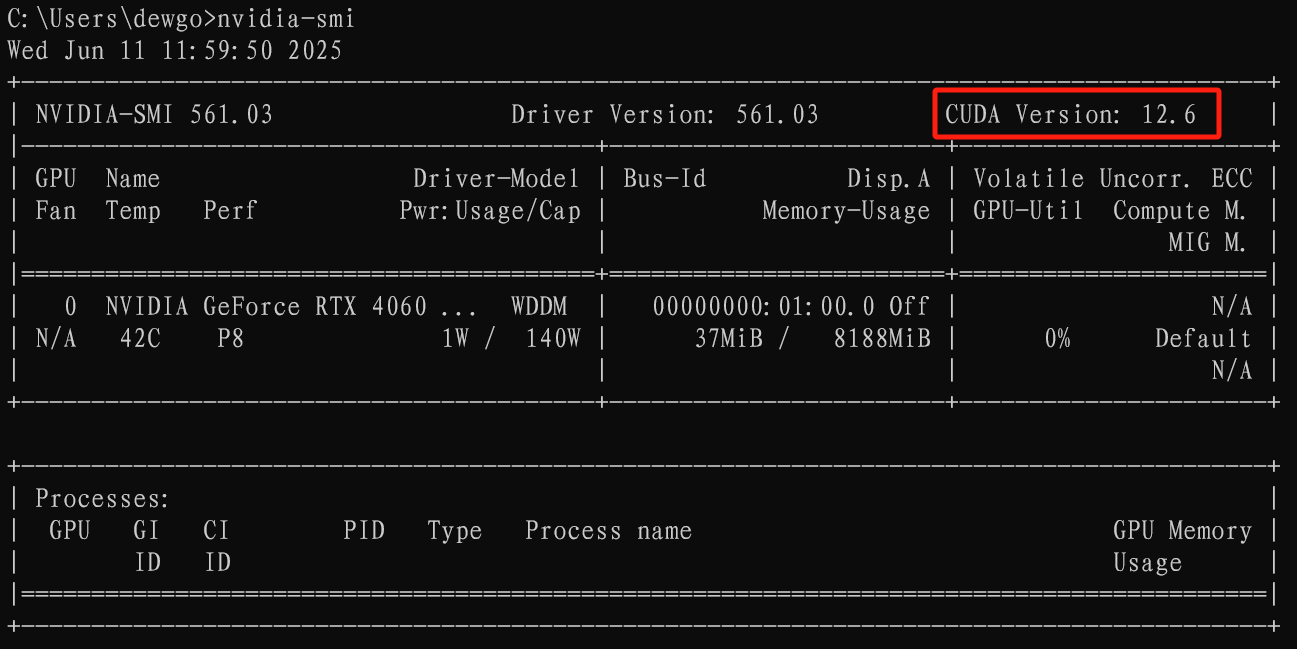
可以看到我的电脑支持小于等于cuda12.6版本。
可以参考下面两篇文章看一下Anaconda、pytorch、cuda之间的兼容版本.也可以去问一下AI
PyTorch、CUDA 与 Python 的版本兼容性问题
Anaconda安装
推荐镜像源下载:地址
下载完成之后直接双击安装,一直点击下一步。在Finish之前,取消两个方框的勾选。
记住自己的文件安装路径
在电脑搜索框中输入 编辑系统环境变量
环境变量-->Path-->编辑
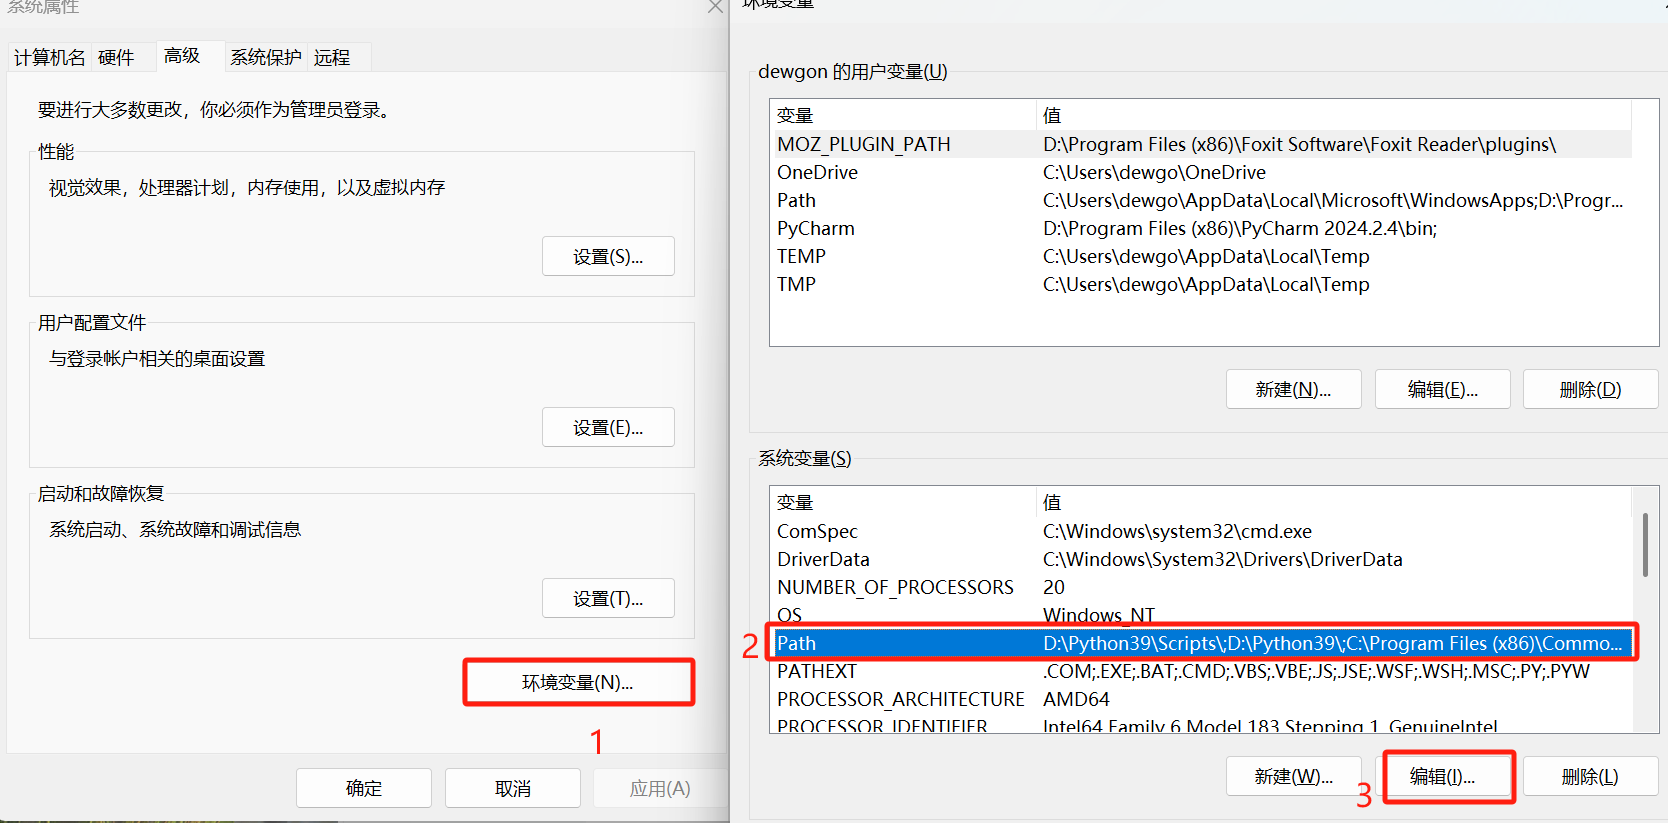
添加安装路径下的几个bin文件
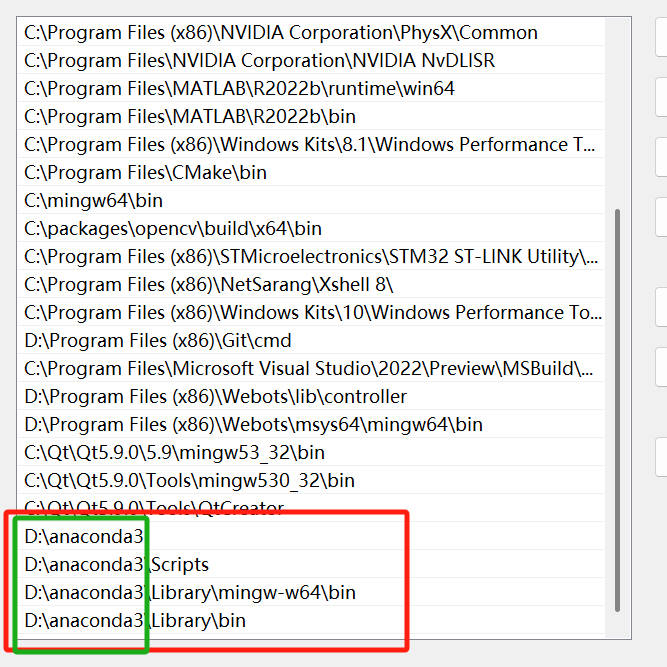
确认。
然后快捷键win+r 输入cmd,打开终端
查看python 位置
 查看conda 版本

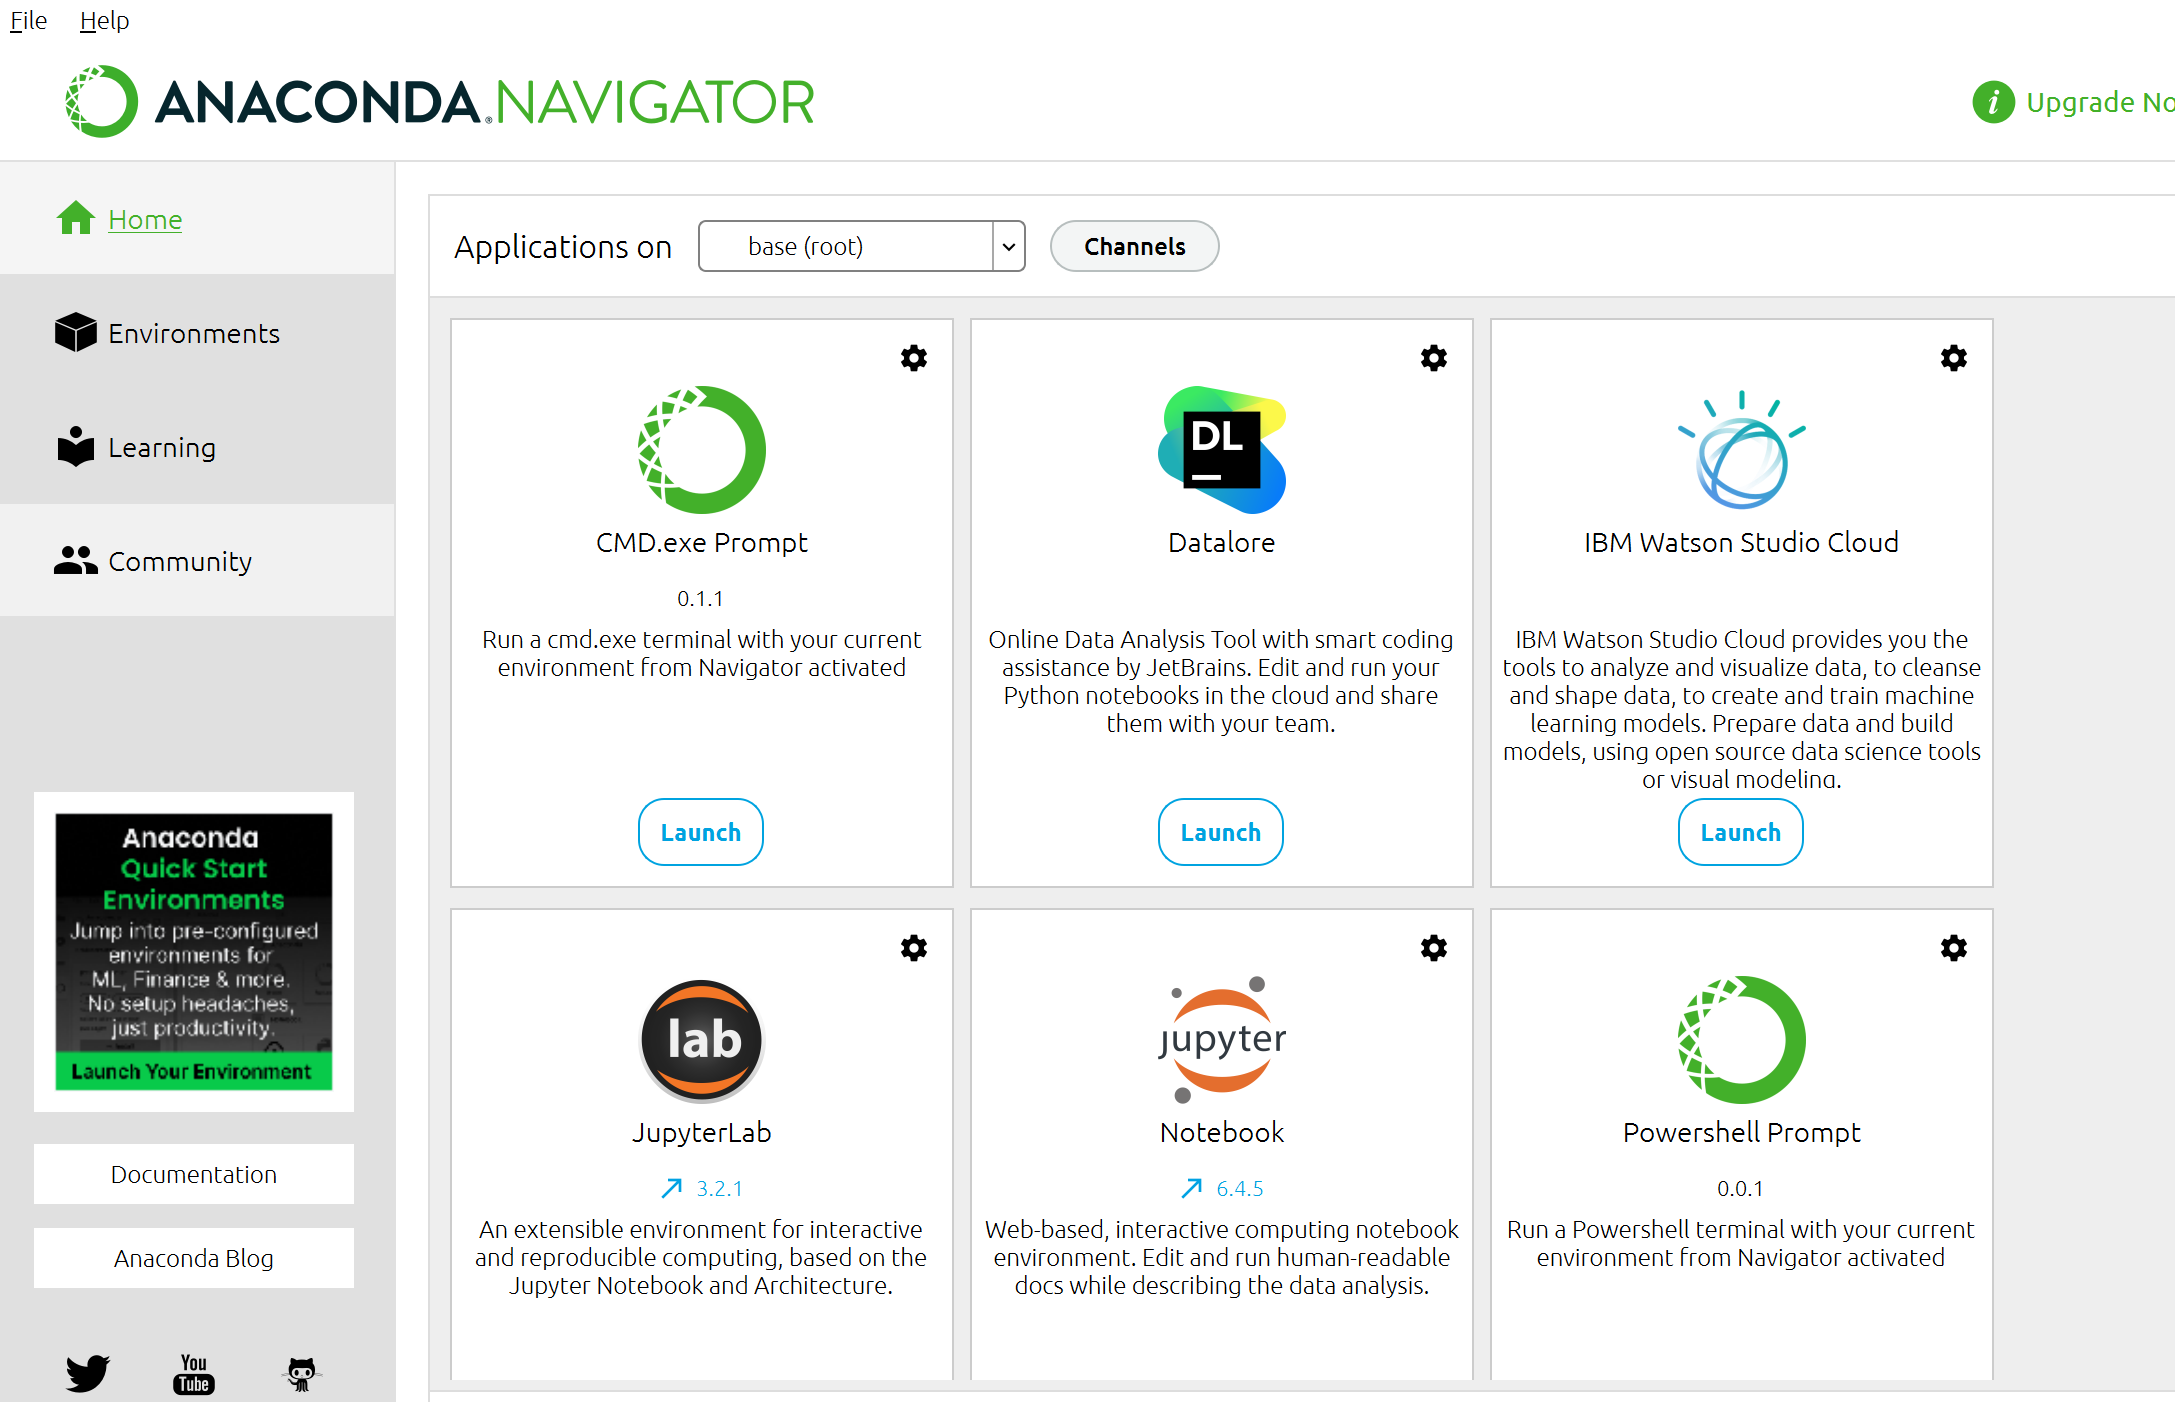
打开Anaconda Navigator
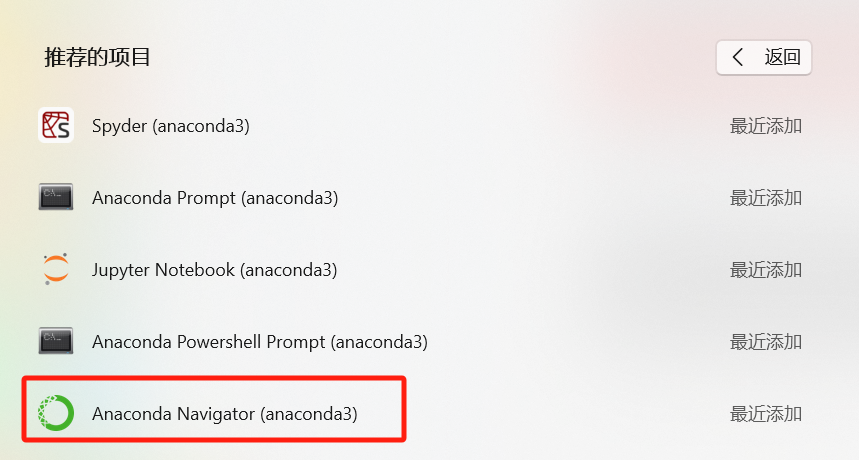
闪退几次终端,不影响。出现软件界面安装完成。
有的文章会让添加镜像源,我跟着操作,在安装pytorch的时候,有个小bug又把镜像源删除掉,我用手机热点下载pytorch依赖包网速挺快的。
添加镜像源
conda config --add channels https://mirrors.tuna.tsinghua.edu.cn/anaconda/pkgs/free/
conda config --add channels https://mirrors.tuna.tsinghua.edu.cn/anaconda/pkgs/main/
conda config --add channels https://mirrors.tuna.tsinghua.edu.cn/anaconda/cloud/conda-forge/
conda config --add channels https://mirrors.tuna.tsinghua.edu.cn/anaconda/cloud/bioconda/
删除镜像源
conda config --remove channels https://mirrors.tuna.tsinghua.edu.cn/anaconda/pkgs/free/
conda config --remove channels https://mirrors.tuna.tsinghua.edu.cn/anaconda/pkgs/main/
conda config --remove channels https://mirrors.tuna.tsinghua.edu.cn/anaconda/cloud/conda-forge/
conda config --remove channels https://mirrors.tuna.tsinghua.edu.cn/anaconda/cloud/bioconda/
Pytorch与cuda安装
在虚拟环境中安装pytorch及cuda。
1.创建虚拟环境(环境内部包含属于自己的文件、包,不会相互干扰)
conda create -n torch1.10 python=3.9
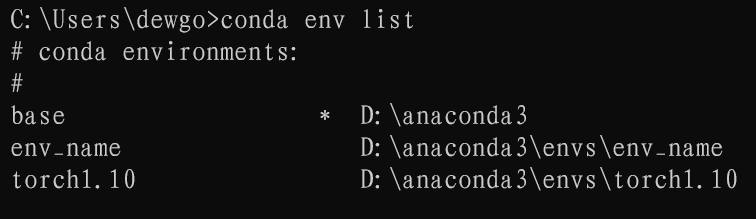
2.查看主机中存在的虚拟环境
conda env list
3、激活虚拟环境
conda activate torch1.10
4、下载Pytorch,我参考博客的评论,直接下载
其他版本可以找pytorch、 torchvision、torchaudio cuda的兼容版本直接下载
conda install pytorch==1.10.0 torchvision==0.11.1 torchaudio==0.10.0 cudatoolkit=11.3 -c pytorch
如果是其他版本的安装也可以参考这篇博客
【深度学习环境配置】Anaconda + PyCharm + CUDA + cuDNN + PyTorch + OpenCV

有可能会看到如下错误
Solving environment: failed with initial frozen solve. Retrying with flexible solve.
我的解决方法是删掉自己添加的镜像源。在虚拟环境中继续操作
Collecting package metadata (current_repodata.json): done
Solving environment: failed xxxxxxxxxxx
Collecting package metadata (current_repodata.json):
出现上面的提示,等待 几分钟,如果不行就试试其他解决方法。我自己的等了一下,自己就开始安装。
安装过程中Pytorch进度已经100,但是卡了几分钟,不要着急
等待安装完成。
5、查看pytorch和cuda
在虚拟环境中输入python

输入如下内容
import torch
torch.cuda.is_available()

NumPy报错
有的可能会提示报错信息,然后显示true
pkg_resources is deprecated as an API. See https://setuptools.pypa.io/en/latest/
pkg_resources.html. The pkg_resources package is slated for removal as early as 2025-11-30. Refrain from using this package or pin to Setuptools<81.from pkg_resources import packaging # type: ignore[attr-defined]
A module that was compiled using NumPy 1.x cannot be run in
NumPy 2.0.1 as it may crash. To support both 1.x and 2.x
versions of NumPy, modules must be compiled with NumPy 2.0.
Some module may need to rebuild instead e.g. with 'pybind11>=2.12'.
If you are a user of the module, the easiest solution will be to
downgrade to 'numpy<2' or try to upgrade the affected module.
We expect that some modules will need time to support NumPy 2.
主要是setuptools和numpy版本太高了。
直接安装下面两个版本的依赖包(一定要在torch虚拟环境中)
pip install setuptools==58.0.4
pip install numpy==1.22.4
至此,pytorch和cuda安装完成
Jupyter notebook
Jupyter notebook要在torch虚拟环境中安装,安装在base无法使用torch的
输入如下指令
conda install -c conda-forge nb_conda_kernels

等待安装完成
在jupyter notebook 打开D盘目录
jupyter notebook D:


选择torch虚拟环境
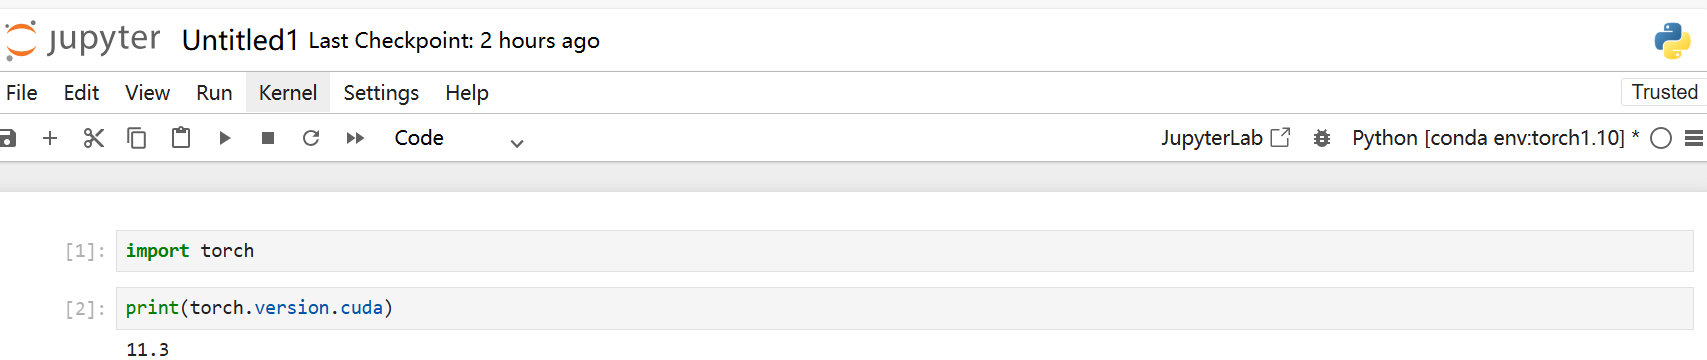
运行显示cuda版本。
终于安装好了。

脑启社区是一个专注类脑智能领域的开发者社区。欢迎加入社区,共建类脑智能生态。社区为开发者提供了丰富的开源类脑工具软件、类脑算法模型及数据集、类脑知识库、类脑技术培训课程以及类脑应用案例等资源。
更多推荐


 34
34 0
0- 0


 已为社区贡献1条内容

所有评论(0)